When I first got the Mighty Quinn, she was leaking from over half of the cabin windows and had been for some time! I immediately went to work with the dreaded silicone and new rubber gaskets to solve the problem. While I did largely get ahead of the leaking problem... the fact is the combination of glass, aluminum, inner fiberglass liner, and gelcoat exterior pretty much meant I was never going to solve the problem. Each material has its own coefficient of expansion and the liner does move a bit relative to the deck as they are designed to be integral supports to the boat. And as we all know, aluminum and glass are excellent heat conductors compared to fiberglass, which means the condense water whenever the cabin is warmer the outdoors! In addition, the aluminum windows really do "date" our boats I really do like the cleaner look of the molded plastics.
I purchased new windows from Cruising Concepts . I am sure there are other folks out there that have made windows, but I like the looks of these windows. He makes the windows and frames with a programmable routing table and has the specifications (I sent him my old windows). Below is a step by step discription (with pictures) with some comment regarding what I learned.
The windows come as essentially four parts: lexan windows. the frame, buytl sealer, and screws. You will need a drill, scrappers, masking tape, pencils, tape measure and ruler, chisel, silicone and butyl cleaners, paper toweling, razor knife, 2-4 six or eight penny common nails, and rasp or rotary burr.
Once you have recieved the windows, schedule a nice, warm (not hot) day on the boat for this project. You can do this on the hard (preferred) or water. The nice thing about doing it on the hard is working from a ladder allows you to get closer to the work and you don't have to work on everything upside down and between your knees!
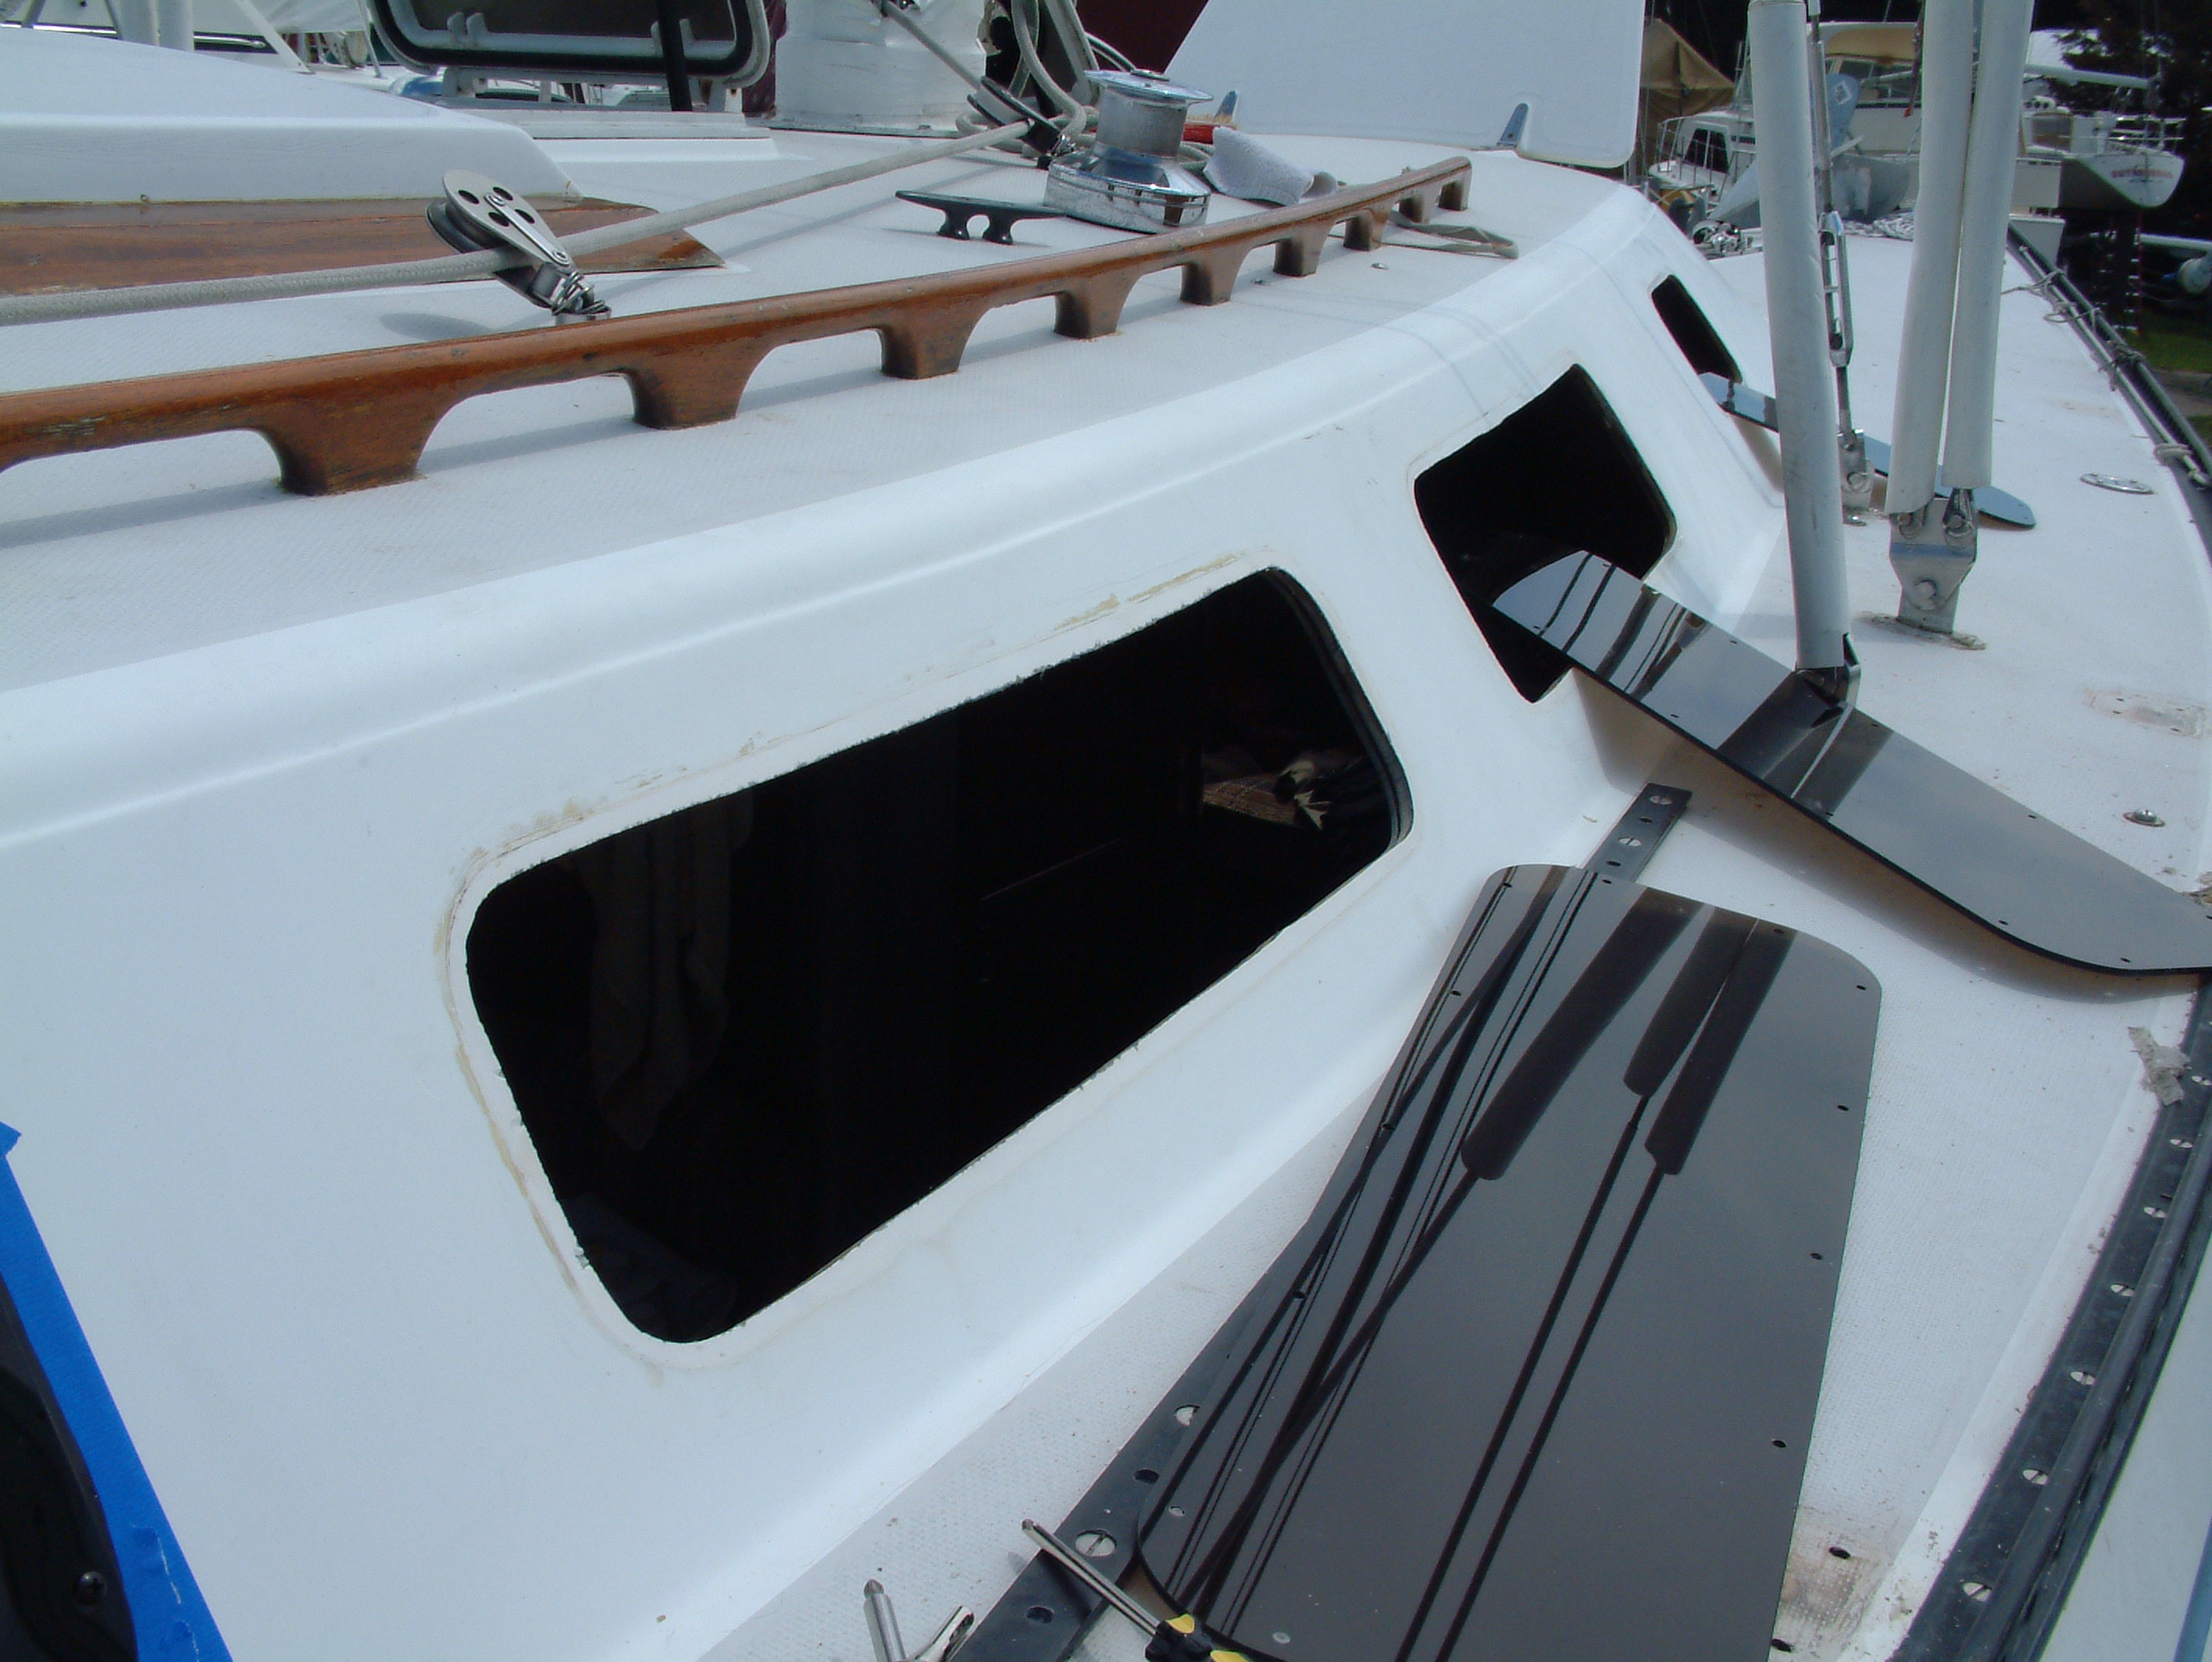
1. Remove the original windows. You do this through the interior by removing the inner frames and caulking. Then go outside and carefully cut through the silicone sealing material and/or the original exterior sealing material. I found it helped to first use a razor knife to cut the seal and to gently use the chisel (with cardboard protection between the chisel and deck) to pry out the window.
2. You will discover that Catalina construction methods were not all that precise when it came to cutting the window openings! It really looks like "chainsaw" quality finish, but hey, why would anyone expect precision where it is not really needed? At this point, take the inner frames and see if they fit in the rough cuts. Use the rasp to ensure the openings are going to fit. Make sure you widen both the inner and outer layers.
3. You will now need to get all the gunk of the deck area around the windows. Use the chisel and razor for the big pieces and solvent for the remaining. Elbow grease is necessary here as foreign material (especially silicone) are pretty much guaranteed to cause leaking later. Here is a picture with the surface area cleaned.
4. Drill the screw holes in your lexan windows using the special drill supplied by the dealer. I would suggest you drill the holes off the boat so you can get the spacing regular for all the windows.
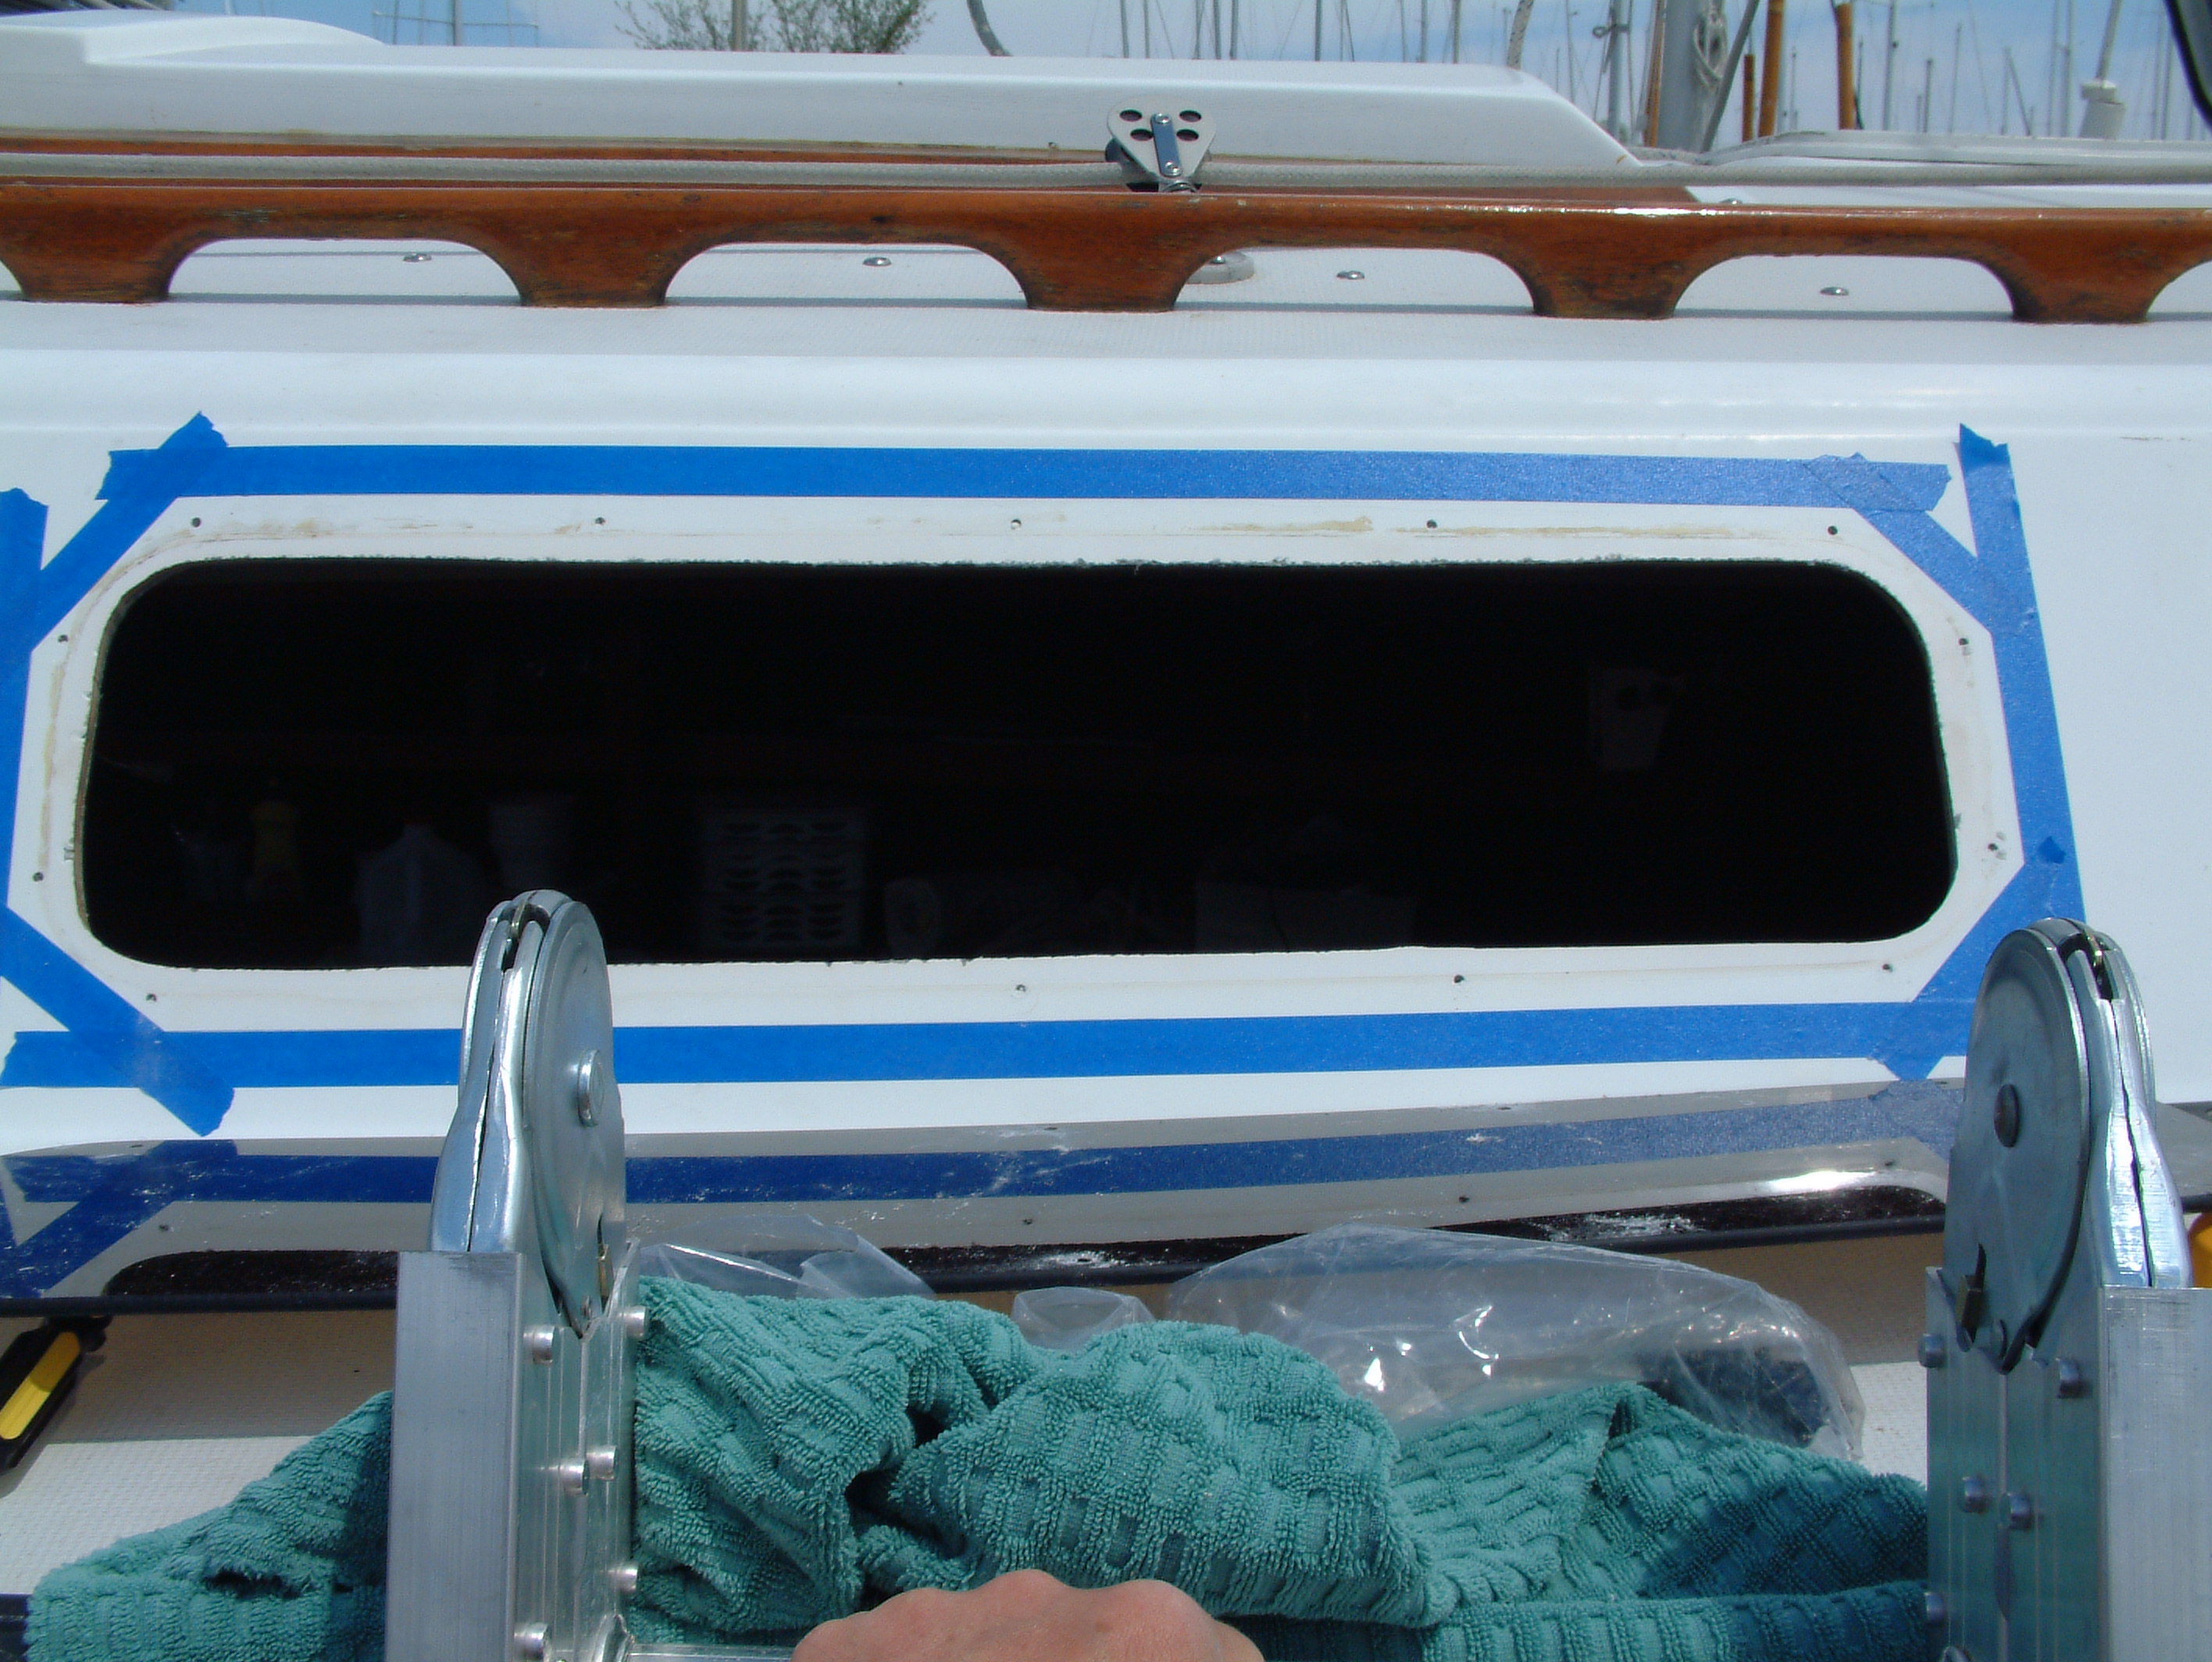
5. Probably the trickiest part of this whole project is making sure the windows are all aligned! Imagine stepping back from your boat and discovering each window is at a slightly different angle... Cruising Concepts has some good suggestions about this in their instructions. But keep in mind that your "frame of reference" probably is guided by the deck mold and there is an excellent mold line about 3" above our windows that goes the entire length of the cabin. I used a ruler to measure down from that guide for all my windows. Then take each window, place it along your marks and trace the outline on the exterior cabin wall. Do all of them and then get back a bit so you can see how they will look by eyeballing the pencil marks. Make any adjustments and check it again (this is really your last chance to get it right).
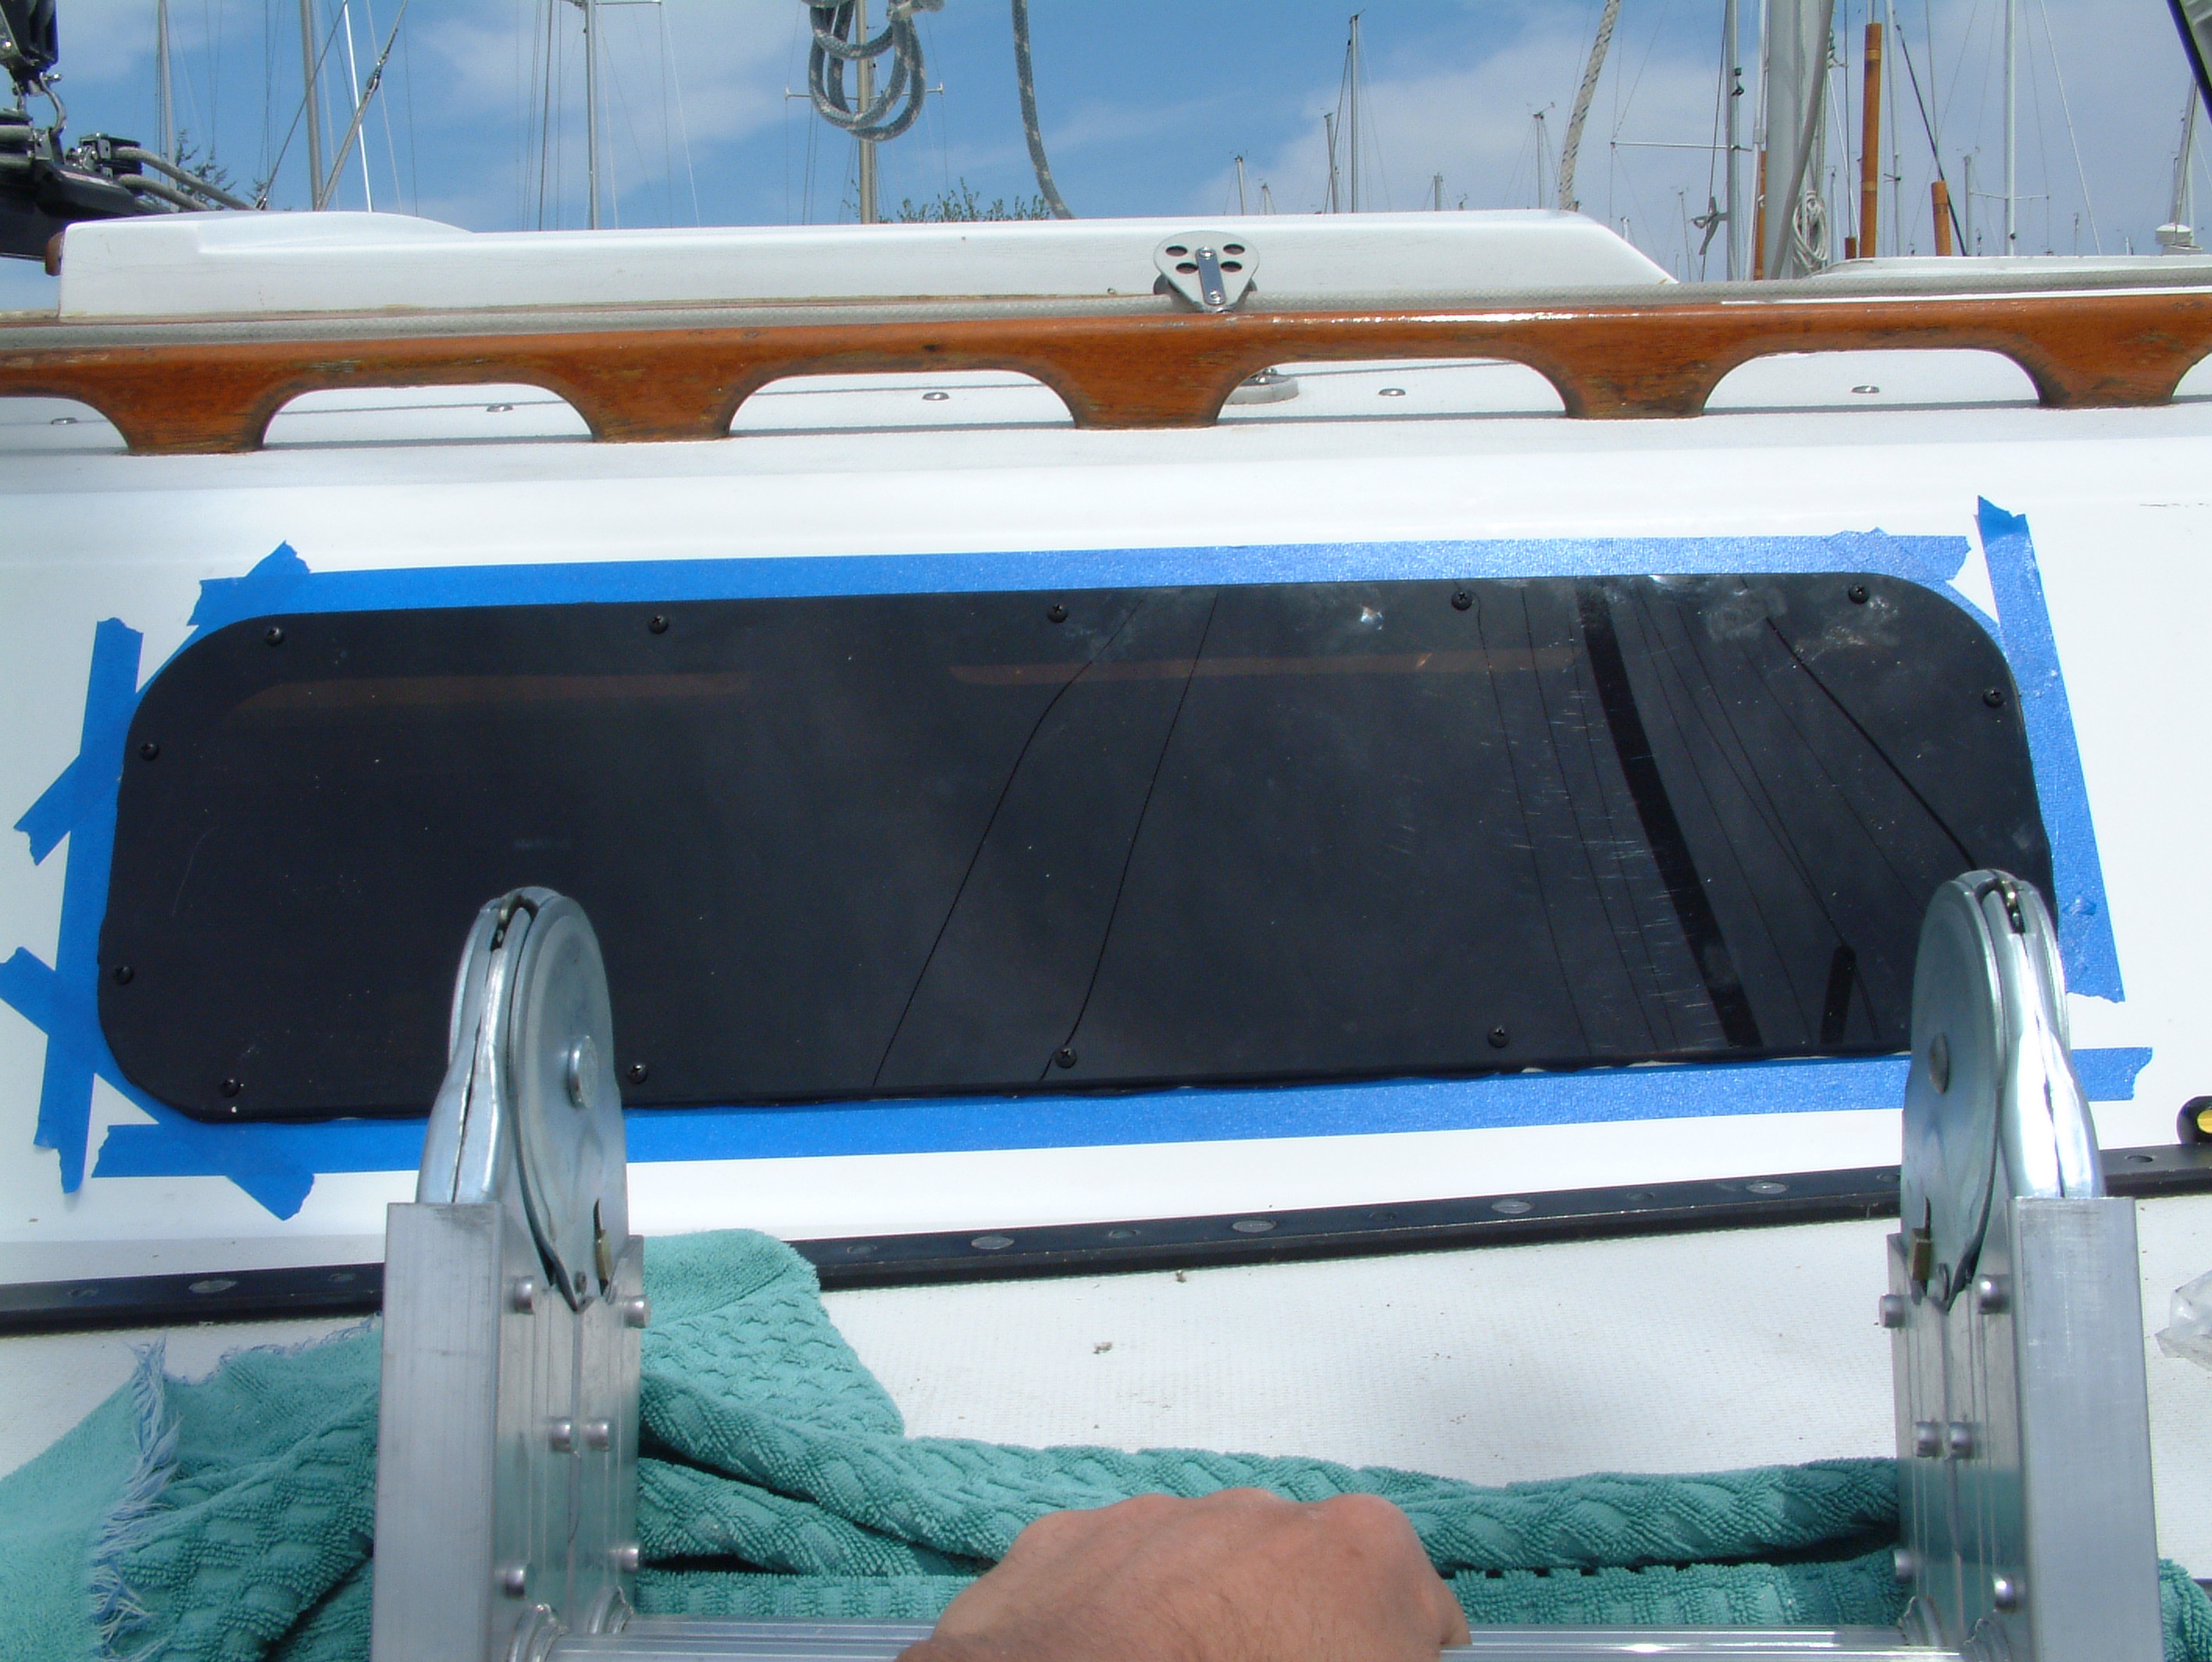
6. Carefully mask your pencil lines, using the razor knife to cut the rounded corners. Be careful not to scratch the gelcoat as you are marking the outside perimeter of the window and scratches could show.
7. Place and hold the window within your pencil lines and use the supplied bit to drill through the fiberglass deck. Don't push too hard on the drill as you want to have the drill cut the hole and we are dealing with brittle fiberglass!
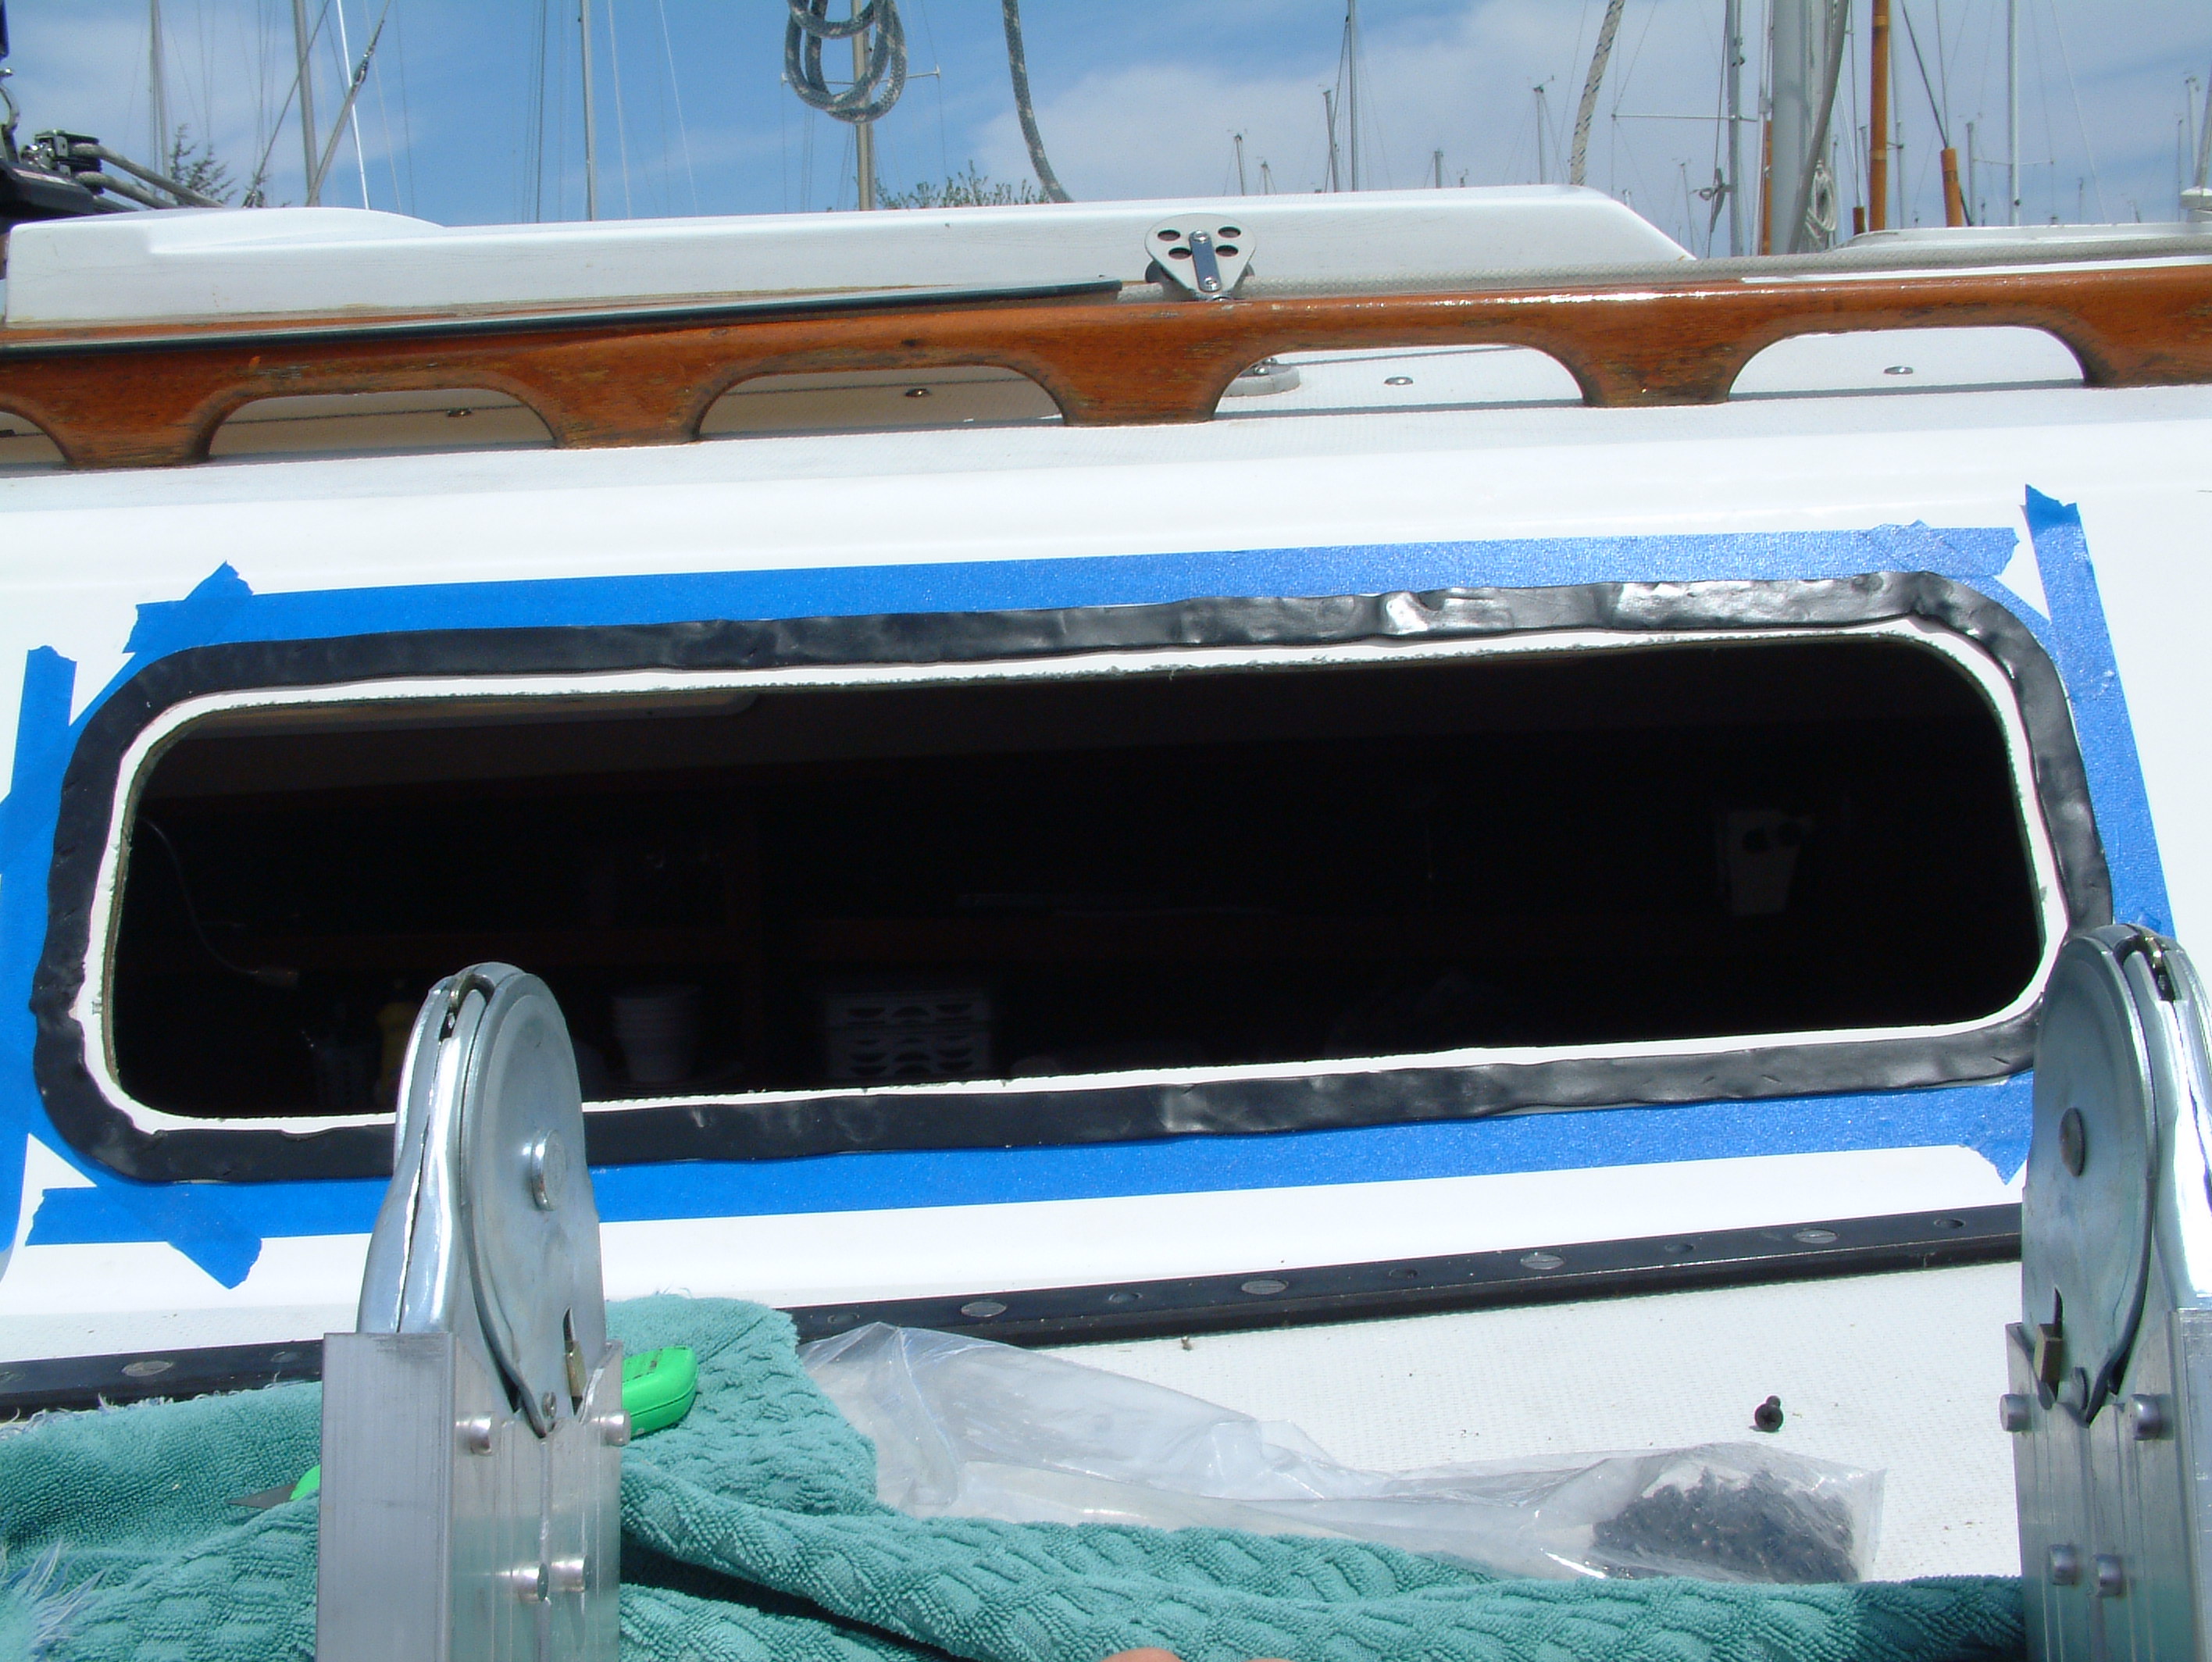
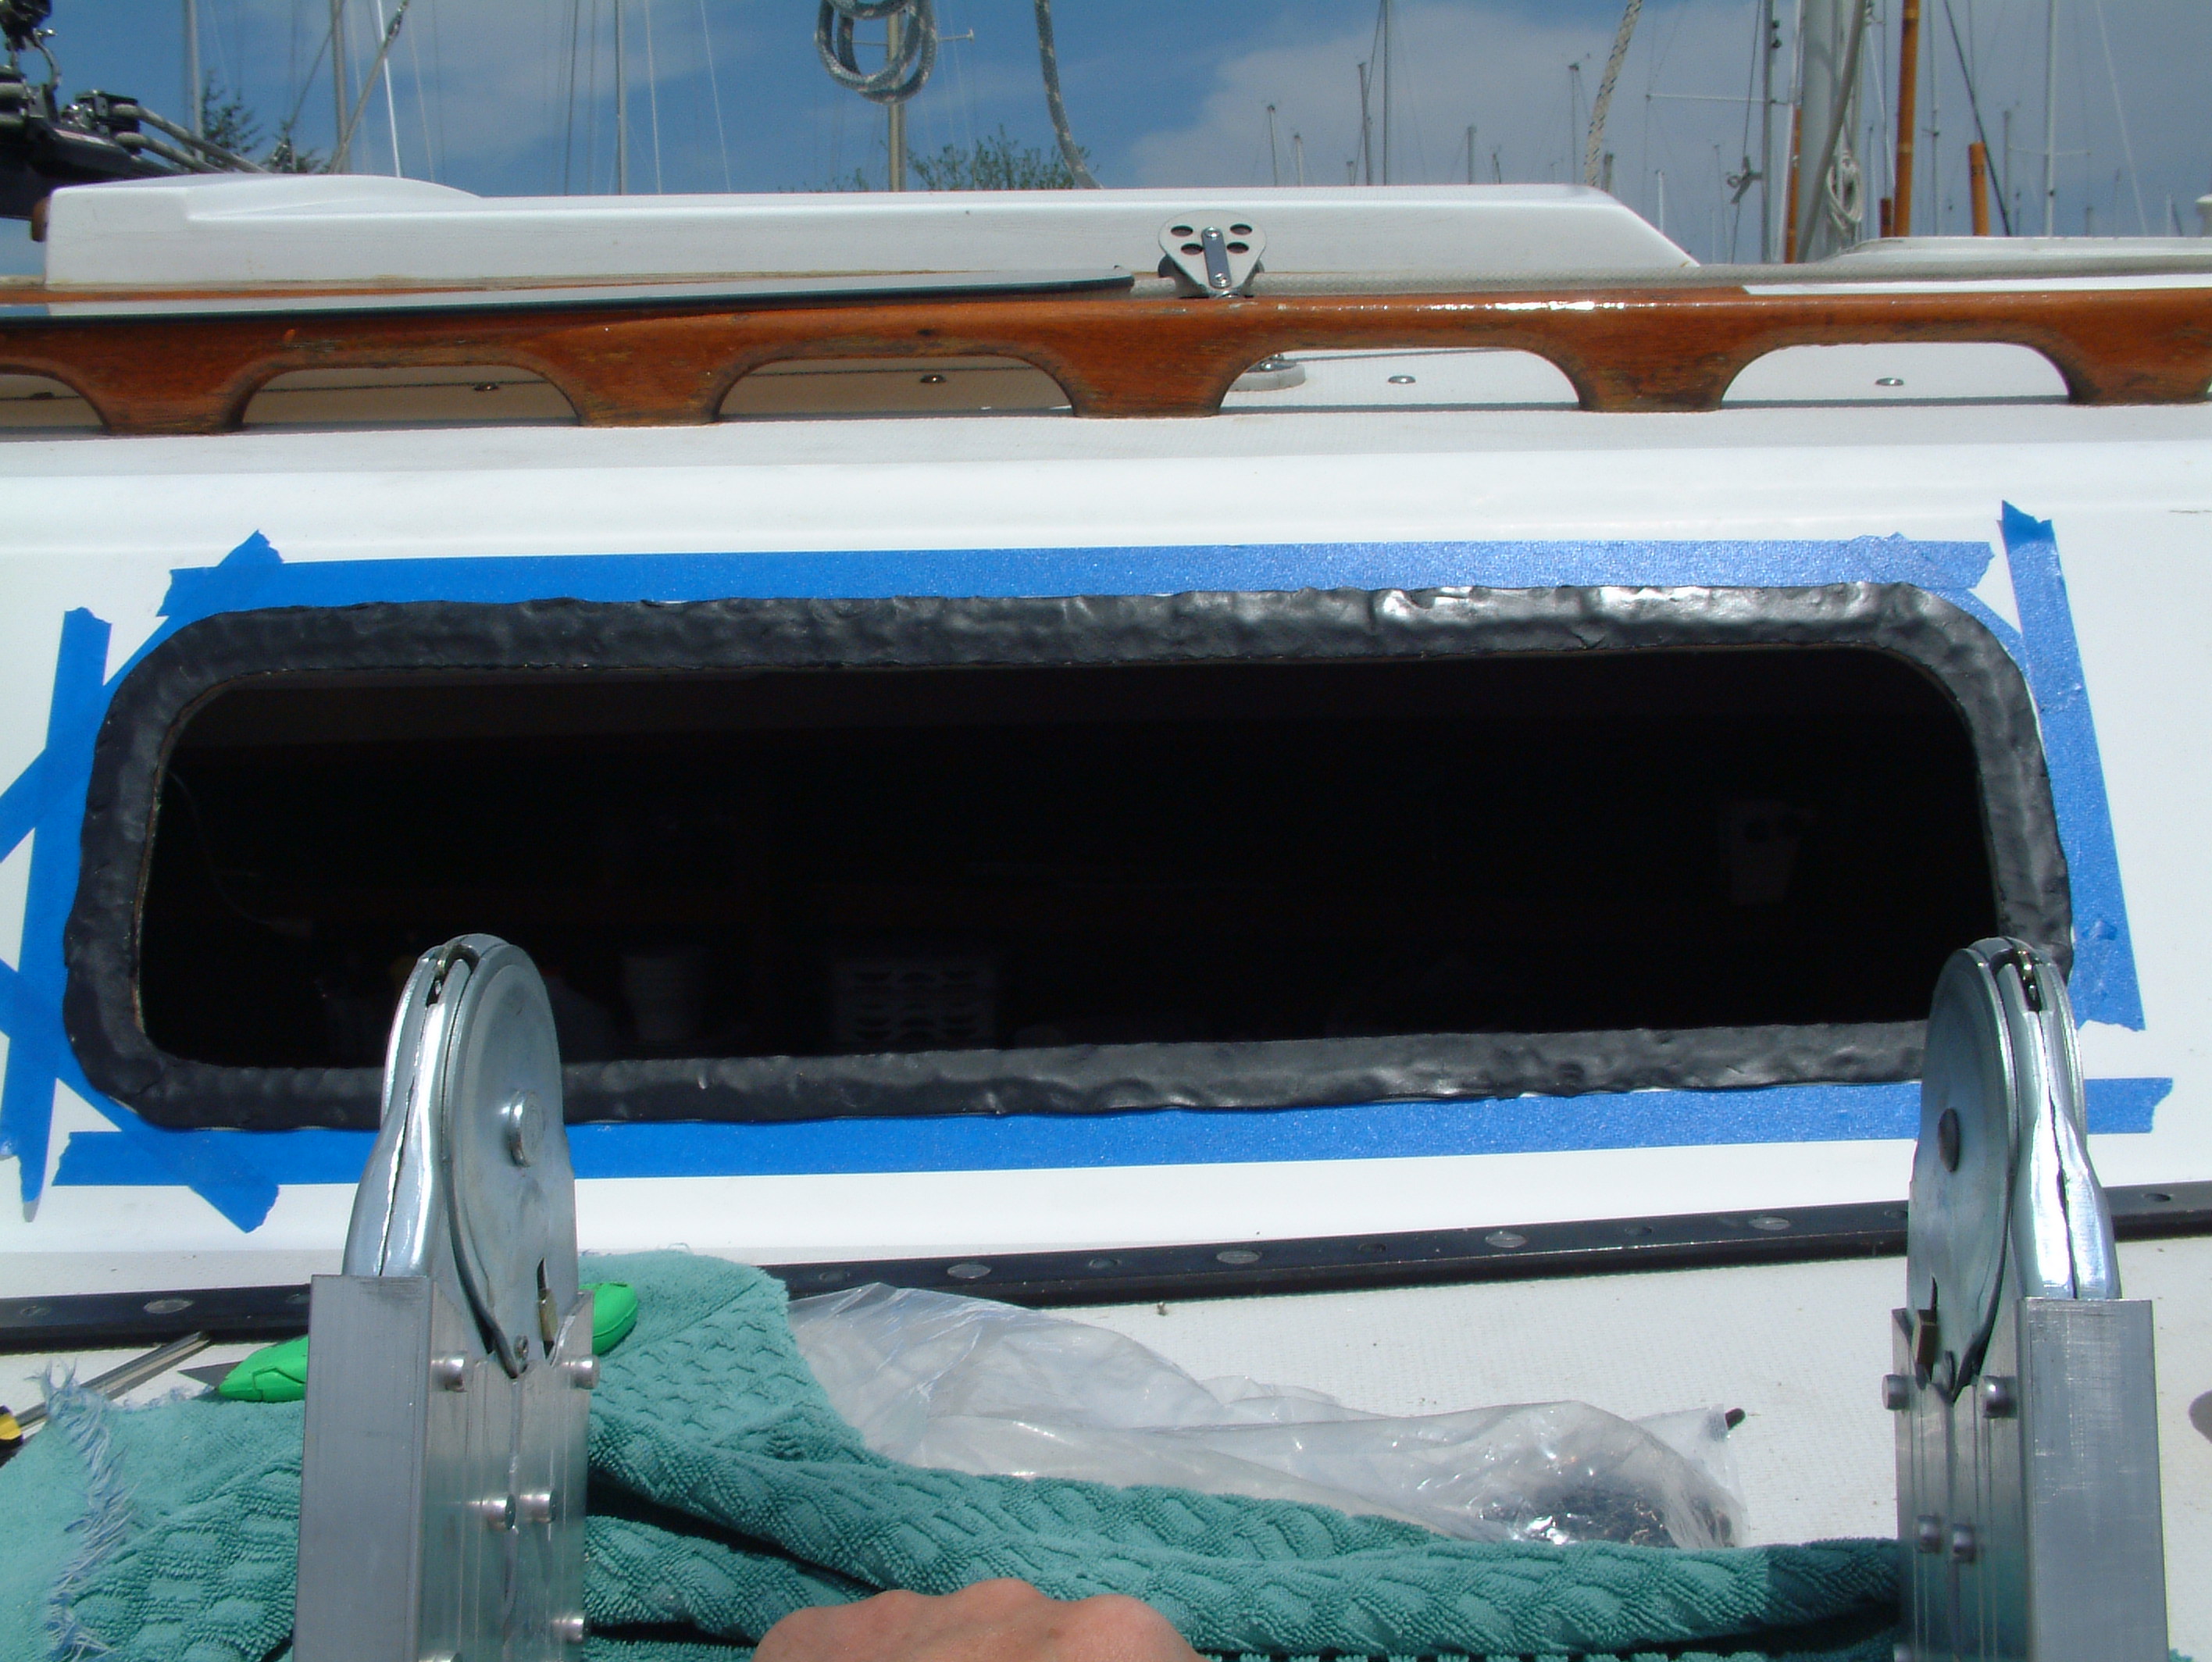
8. Unwind the butyl and stick it to the deck, being careful the edge meets your masking tape opening. Using your fingers, carefully spread the butyl so it covers the white surface. Be sure you do not try to spread the buytl too thin, but do cover the white as it will show if you don't!
9. Carefully place the window, use the nails to locate the screw holes and support the window in place while you screw the window down. Follow the instructions regarding stages of screw tightening that come from the manufacturer! Here is a picture with the screws tightened down so the butyl is beginning to ooze.
10. After the butyl has had a chance to set up a bit (follow manufacturers recommendations), take your razor knfe and carefully trim the excess, being careful to not scratch the gelcoat. You will need cleaner to regularly remove the gunk from the razor knife. Please be very careful with the excess as it will stick and stain any surface it touches or falls onto!
11. Measure and pre-drill the inside window frames. You should be careful to individually check each frame to ensure there is adequate fiberglass in the cabin liner to place the screws as this is were the "rough" work done at the factory can hurt you! I had to drill two holes on the forward cabin frames out of line as there was not enough liner where they should have been.
12. In all probability, some of the butyl was squeezed into the space between the cabin wall and the cabin liner. You may wish to remove some of this excess where it can be seen around the window frame before mounting the frames. Again, be careful with the excess as it can really make a mess of your window and seat cushions!
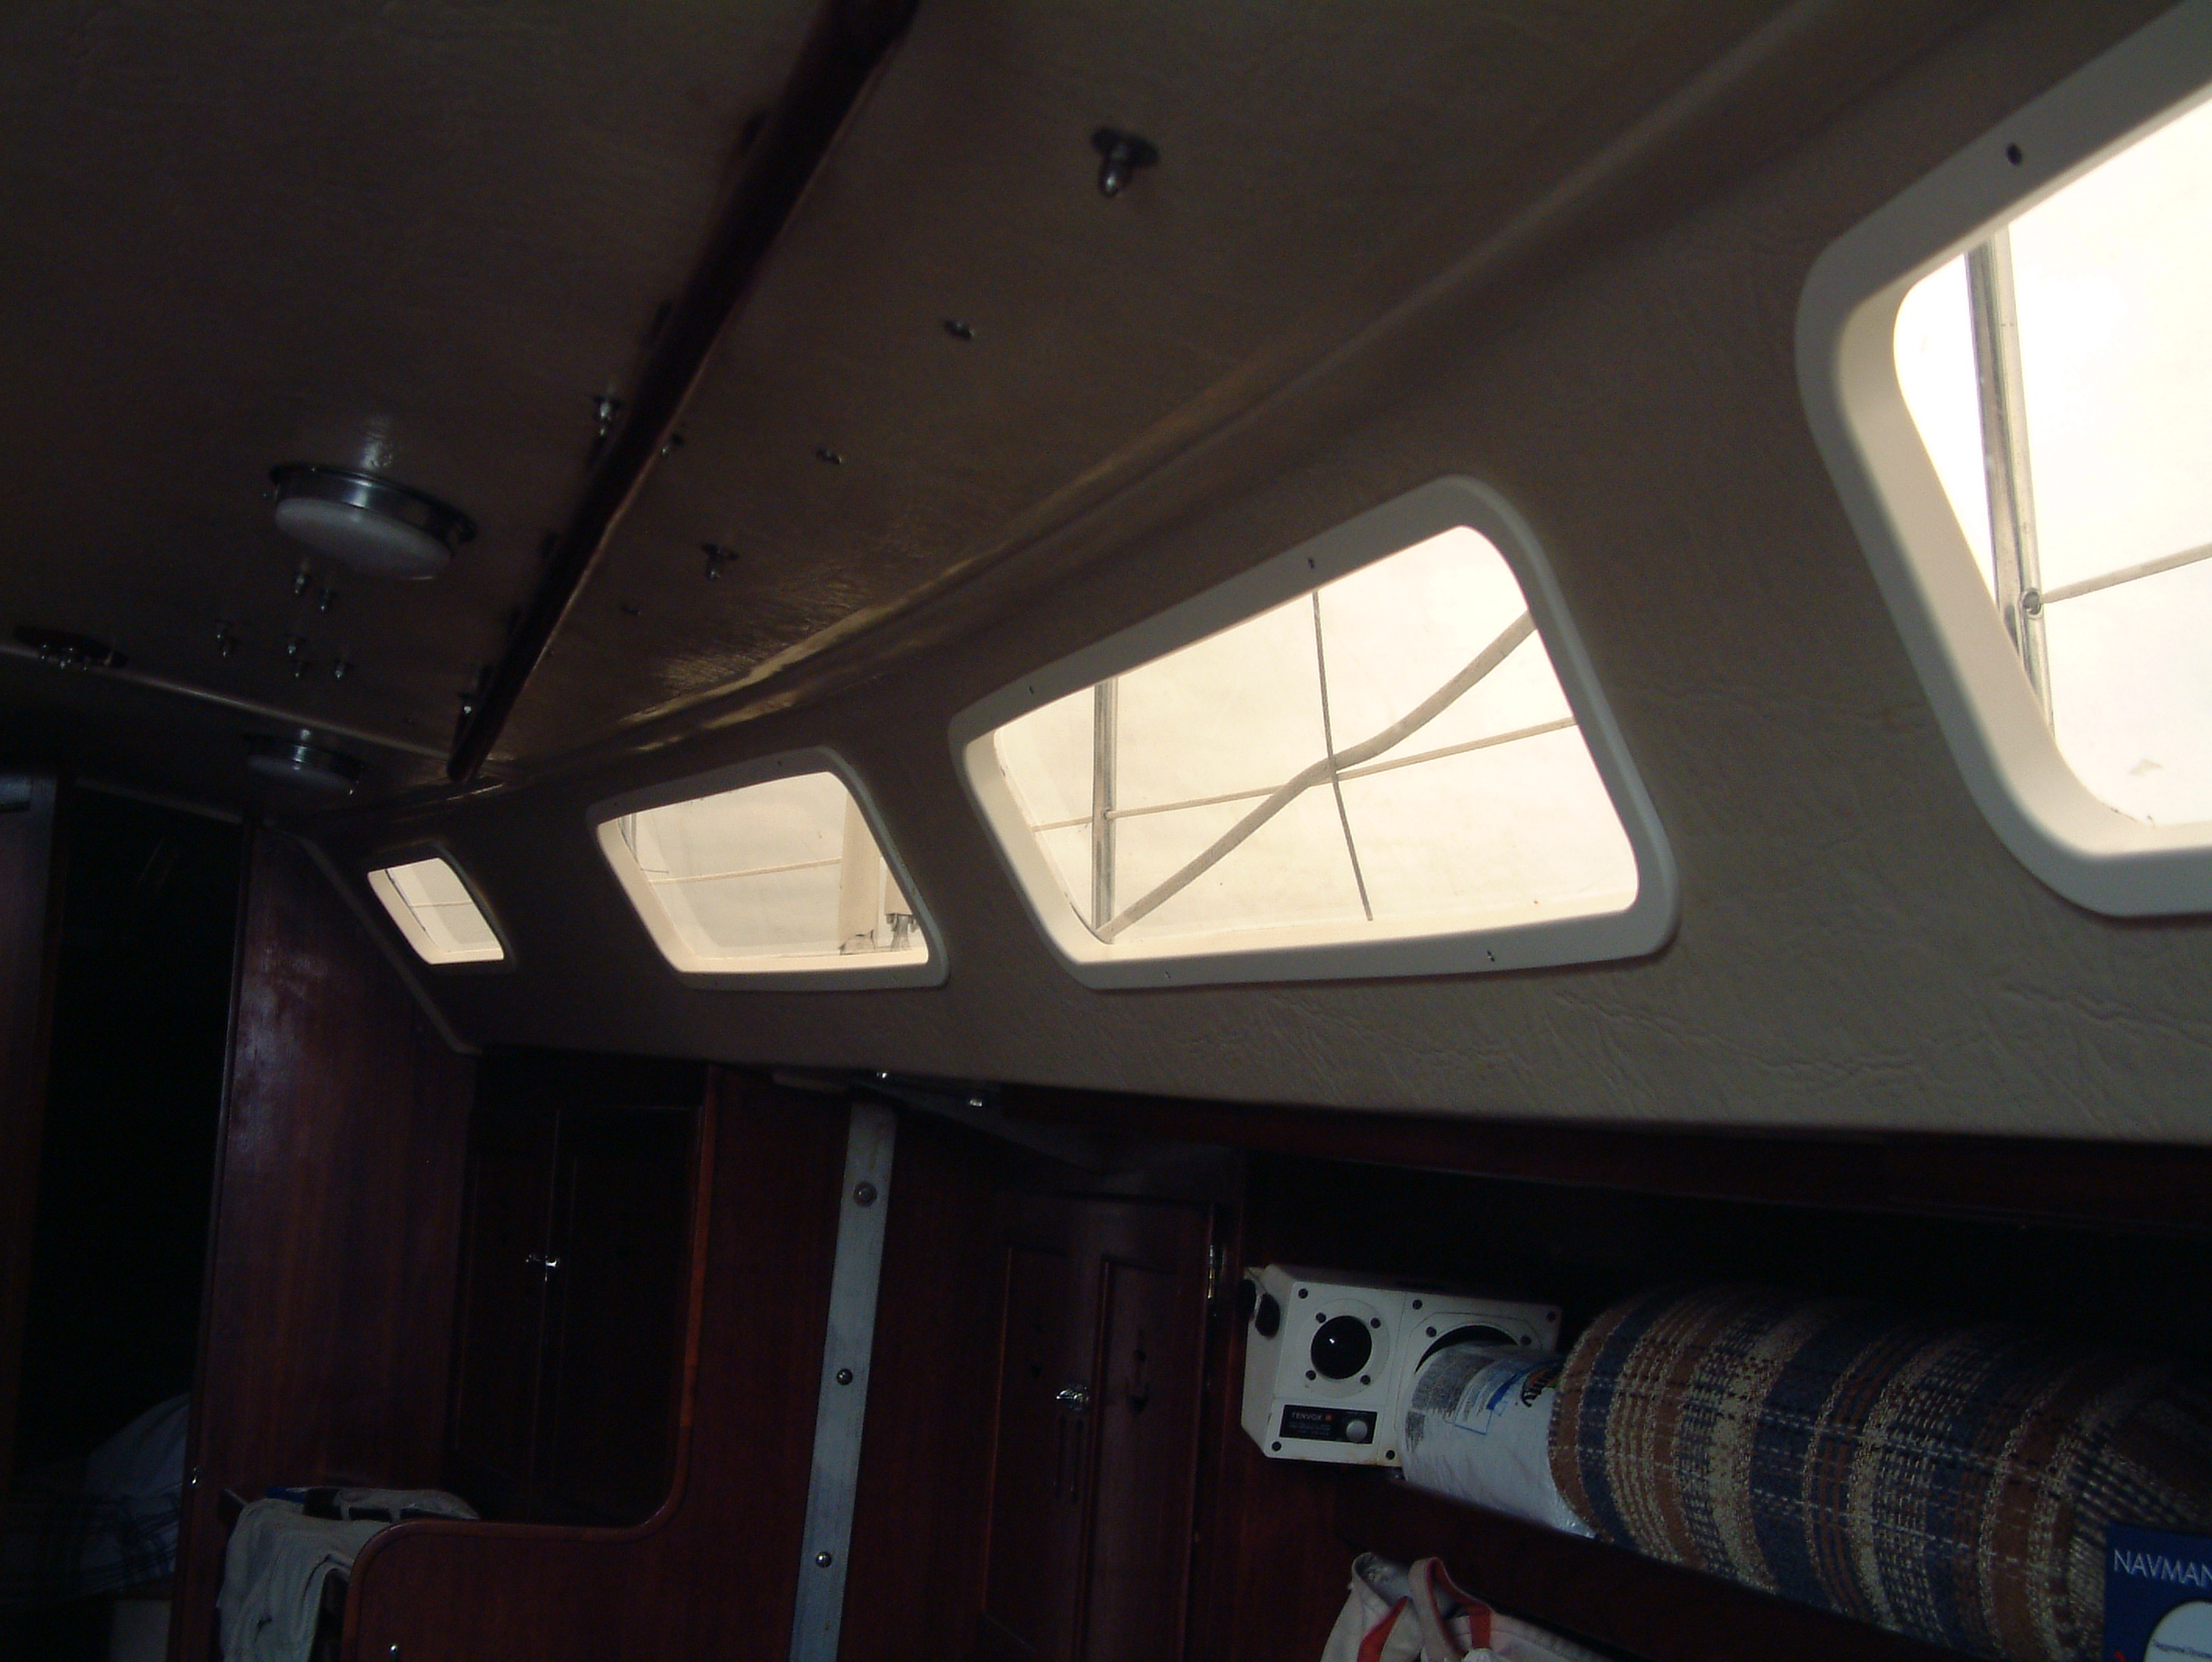
13. Mount the window frames and pre-drill the holes in the cabin liner. Then screw them down.
14. Remove the masking tape from the deck and your done!
Here are some additional views: